UPDATE – 2021-02-26 – Post has been updated. See update at the bottom.
Since Google Analytics’ introduction in 2005, it has become the leading analytics tool used to track user visits and the overall performance of a website. Google Analytics is extremely helpful in tracking the performance as well as many aspects of your site. That being said, Google Analytics has evolved so much since its introduction that you almost need a degree on how to use it. In fact, Google used to offer Google Analytics University as their online course on how to use Google Analytics. One aspect that we often hear from our customers is that they would like to be able to see how their site is performing on a regular basis via an email. Fear not, that capability is available within Google Analytics albeit buried a little. In this article, we will cover the simple steps to create a weekly Google Analytics report and having it automatically sent via email.
Step 1- Creating the Report
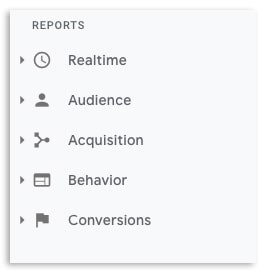
The first step is to create the report that you want. That’s basically the way that you view the performance of your site. Pretty much anything under the Reports section on the Left Hand Side.

For example, say that you want to compare your audience visits from this week, compared to the previous week.
- Click on Audience
- Click on Overview
- Expand the Date Range selector at the top right and click on the Compare To checkbox and click Apply.
- You should now have a report that compares the visits from this past week to the previous week.
- Click the SAVE button at the top right.
- In the dialog, select a name for your report like “Weekly Audience Comparison”
Now there are too many ways to slice and dice and configure these reports (hence the university) and we will not cover them here but once you have the report that you want just click the SAVE button. The report should be saved under Customization | Saved Reports section.

Step 2 – Setting Up Report Email
The second step is to enable the email for your report. You can do that under Customization | Saved Reports section.
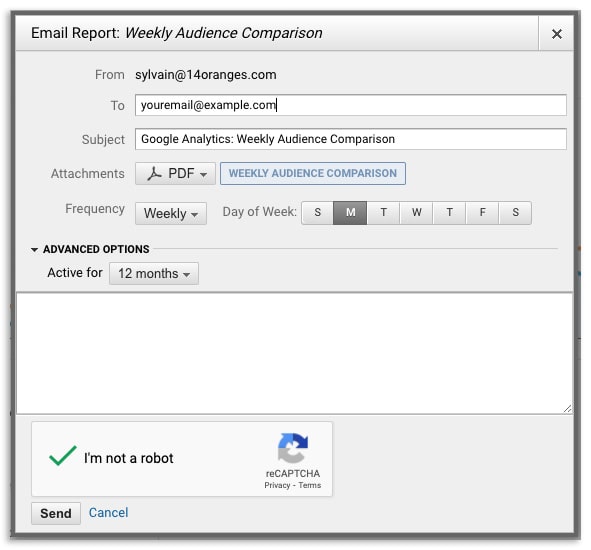
Click on the report that you want to share and click the SHARE button at the top right. The Email Report dialog should come up.

- Enter the email address it should go to.
- Change the frequency to whatever you want. Daily, Weekly, so on.
- Expand the Advanced Options section and select the Active for. We recommend selecting 12 months.
- You can enter an optional message in the text box. That message will show up in your email. Perhaps instructions on what to look for in the report.
- Click “I am not a robot” recaptcha.
- Click Send.
- Make sure you see the following message to ensure all was setup properly.

That’s it. You should now be receiving regular reports at the selected frequency.
Step 3 – Renewing the Reports
In order to renew your report at the end of the period you selected in Step 2 Point 4 above, you need to go into the Administration side of Google Analytics on the expiry date (or thereabouts) of your report.
- Click Admin at the bottom left.
- Under the View Column, click on Scheduled Emails.

- Click on the Actions pulldown for the report you want to extend and select Extend.
- Click the Extend button.
We recommend putting a reminder in your calendar with a link to this article so you can remember how to do this again in 6 or 12 months. We always forget as well and had to do that.
If you need help with all of this or if you need help with your website, feel free to contact us.
UPDATE – 2021-02-26 – Emailed reports are broken
2 weeks after we posted this article, we started seeing that our weekly emailed reports which we have been using for years were coming up blank. Basically the attached report is blank. It appears it has been a known bug with Google Analytics for the last few years. You can read more about it here.

Share This Article